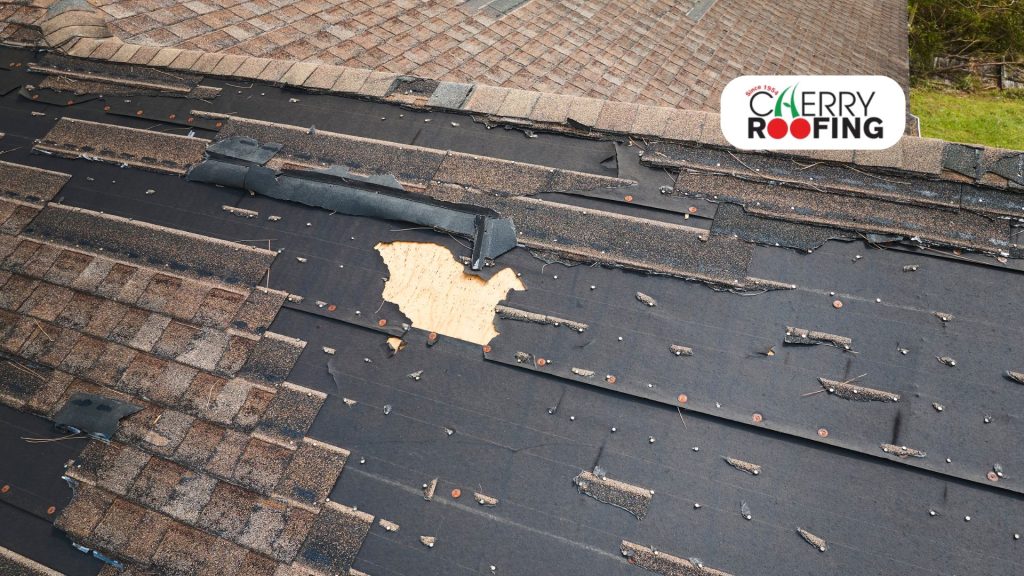
With this guide, you’ll learn how to replace missing roof shingles in Florida.
Florida’s weather can cause shingles to go missing, leading to leaks and damage. Learning how to replace missing roof shingles them might seem daunting, but with the right guidance, you can handle it.
This step-by-step guide will help you do that. Whether you choose to DIY or hire a professional, our tips will help you decide what’s best for your situation.

Steps on How to Replace Missing Roof Shingles
1. Assess the Damage
Before you begin, assess the extent of the damage. Check for any underlying issues such as water damage or rot that may have contributed to the shingles coming loose. Ensure you have the right replacement shingles that match your current roof’s color and material.
2. Gather Your Materials
Gather all the necessary materials:
- New shingles (matching your current roof)
- Roofing nails
- Hammer
- Pry bar or flat bar
- Utility knife
- Roofing adhesive or cement
- Safety gear (gloves, goggles)
3. Safety First
Ensure safety by using sturdy ladders and wearing appropriate gear. Check the weather forecast; avoid working on the roof during rainy or windy conditions.
4. Remove the Damaged Shingles
Using a pry bar or flat bar, carefully lift the shingles surrounding the damaged area. Start with the uppermost shingle and work your way down. Use caution to avoid damaging adjacent shingles.
5. Remove Nails
Once the damaged shingle is lifted, remove any roofing nails holding it in place. Use a hammer or pry bar to carefully extract the nails without damaging the roof deck.
6. Prepare the Replacement Shingle
Slide the new shingle into place, ensuring it matches the alignment of the existing shingles. Trim if necessary to fit properly.
7. Install the New Shingle
Lift the overlapping shingles above the replacement area and apply roofing adhesive or cement to the back of the new shingle. Slide it into place and secure it with roofing nails. Use the existing nail holes if possible to maintain the integrity of the roof.
8. Secure the Shingle
Press down on the new shingle to ensure it adheres properly to the adhesive. Secure it with roofing nails along the edges. Use enough nails to keep the shingle flat and secure, but avoid overdriving them, which could damage the shingle.
9. Seal the Edges
Apply a small amount of roofing adhesive under the edges of the overlapping shingles to ensure they lie flat and are properly sealed against the elements.
10. Check and Clean Up
Inspect the replaced shingle to ensure it sits flush with the surrounding shingles. Clean up any debris from the roof and surrounding area.
11. Monitor and Maintain
After replacing the shingle, monitor the repaired area for any signs of leaks or damage. Regularly inspect your roof to catch any issues early and prevent further damage.
DIY or Professional Help?
While replacing a missing roof shingle can be a DIY project, especially if you’re skilled, hiring a professional is still the best choice. Here’s why:
- Safety and Experience: Professionals are trained to work safely at heights. They are also experts in how to replace missing roof shingles.
- Extent of Damage: For extensive damage or structural issues, professionals can accurately assess and fix roof shingles effectively.
- Quality Assurance: They use high-quality materials and may offer warranties. This ensures durable repairs that protect against future issues.
- Code Compliance: They understand local building codes and can obtain permits if needed, ensuring your repair project meets legal requirements.
- Time and Efficiency: Hiring a professional saves you time and ensures the repair is completed quickly and efficiently.
Trust Cherry Roofing to Repair Roof Shingles on Your Home!
Cherry Roofing has an experienced team that knows exactly how to replace missing roof shingles in Florida. We can get the job done right the first time. We respond fast too. Just reach out to us today for an estimate!